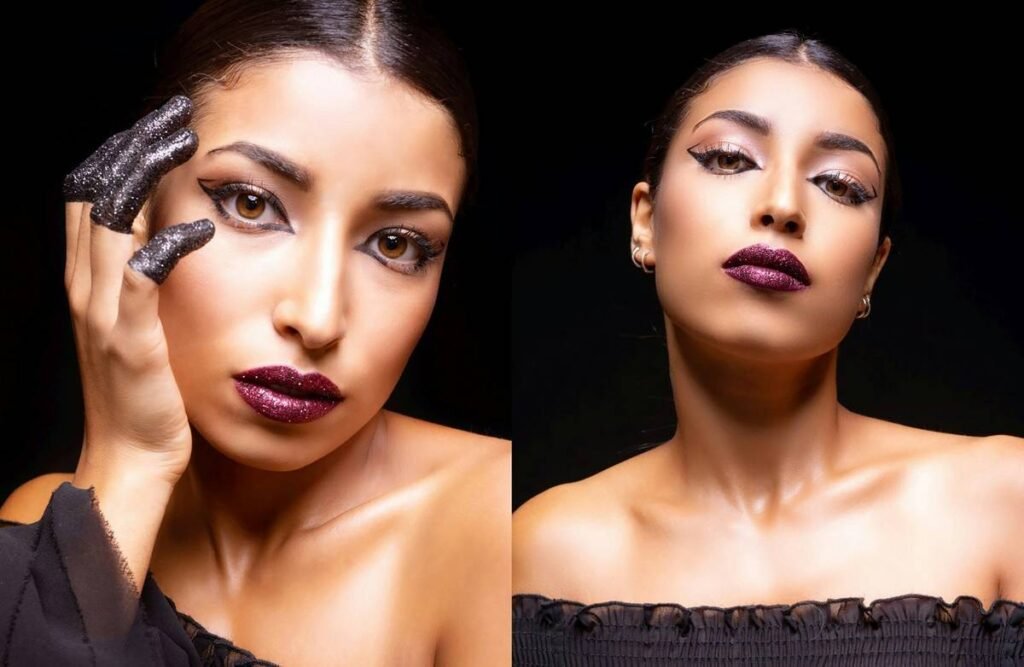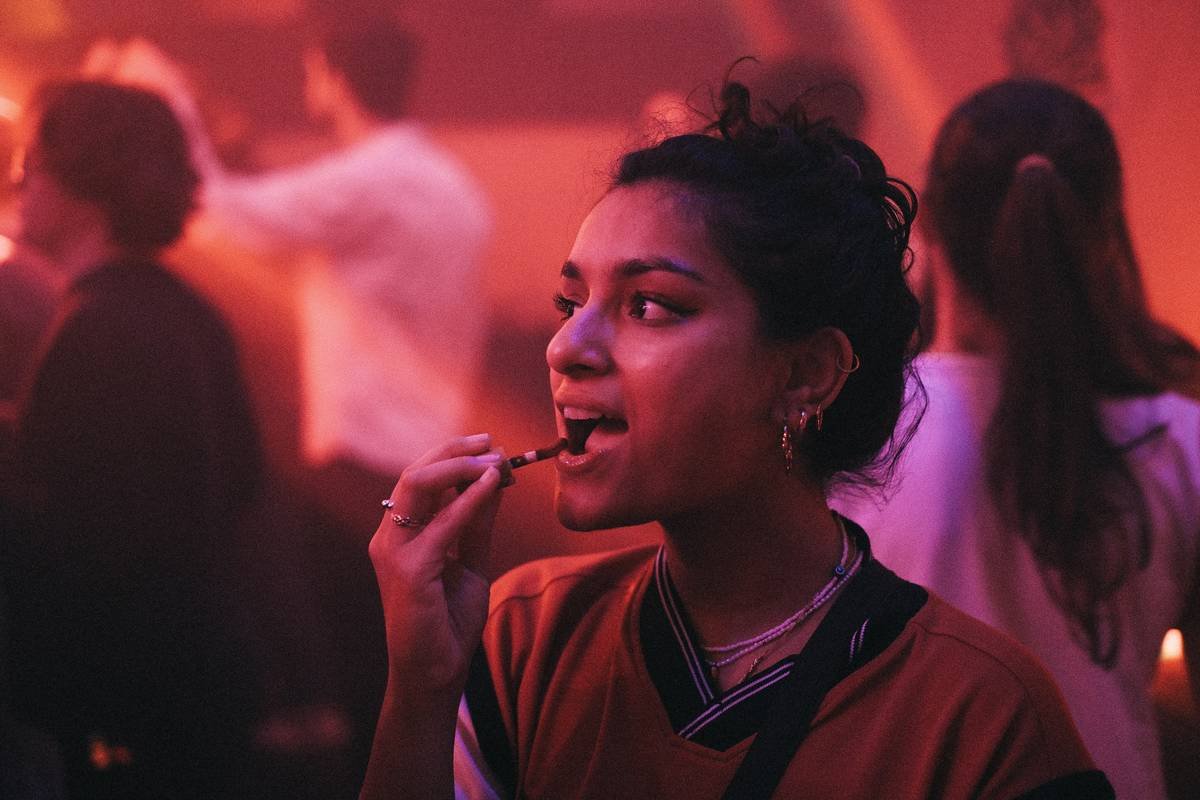
You spend hours perfecting your eyeshadow, contour, and lipstick—only to watch your blush fade into oblivion by midnight. Party lighting washes you out. Sweat, dancing, and one too many cocktails? They erase your carefully layered color. The problem isn’t your palette—it’s your technique. Real party blush makeup isn’t just about hue; it’s about architecture, placement, and product chemistry that survives chaos.
Why Your Blush Disappears Before Midnight (And What Actually Works)
Most tutorials treat blush like an afterthought—a soft sweep across the apples of cheeks. Cute for brunch. Fatal for a 4-hour wedding reception under strobe lights. Standard powder formulas sit *on* the skin, not *in* it. When oil builds or you dab your forehead, that pigment lifts right off. And over-layering? Creates muddy texture or patchiness under flash photography.
The real issue? You’re using daytime logic for nighttime biology. Skin behaves differently when adrenaline spikes, rooms heat up, and you’re smiling nonstop. Your blush needs grip, luminosity, and strategic depth—not just pigment.
Party Blush Makeup: A Step-by-Step Survival Blueprint
Prep Like a Pro—Not a Passenger
Start with a matte but hydrated base. Skip heavy creams—they migrate. Use a gel-based moisturizer followed by a gripping primer (think silicone-free, pore-filling formulas). Let it set two minutes. No shortcuts.
Layer Smart: Cream First, Powder Second
Apply a cream blush slightly higher than where you’d normally go—just below the orbital bone, blending upward toward temples. This catches light from above (hello, chandeliers). Then, lock it with a translucent setting powder *before* adding a whisper of matching powder blush on top. This dual-phase system bonds with skin while resisting transfer.
Placement Beats Pigment Every Time
Forget “apples.” For party lighting, focus on the upper cheekbone ridge—where light naturally hits when you’re standing or dancing. Suck in your cheeks slightly; apply along that hollow’s upper edge. Result? Dimension that reads even in low light.
| Method | Longevity (Hours) | Flash Photo Safe? | Beginner-Friendly? |
|---|---|---|---|
| Powder Only | 2–3 | No (washes out) | Yes |
| Cream Only | 4–5 | Yes | Moderate |
| Cream + Powder Layer | 7–8+ | Yes | Yes (with practice) |
| Blush + Highlighter Mix | 3–4 | Risky (can look greasy) | No |
The Industry Secret: “Blush Mapping” for Dynamic Lighting
Here’s what no brand will tell you: parties have *multiple* light sources—overhead LEDs, candlelight, phone flashes, neon signs. Your blush must perform under all of them. Veteran makeup artists use “blush mapping”: applying three micro-dots of product—temple, mid-cheek, jawline—and blending outward in a C-shape. Why? It creates a gradient that adapts as you move through different zones of light. The result? Cheeks that look flushed, not painted. And—this is key—use a cool-toned berry under warm lighting (it neutralizes orange casts), and a peachy rose under cool LEDs (adds warmth back). The math is simple: counterbalance the environment.
Frequently Asked Questions
Can I use lip tint as party blush makeup?
Yes—but only if it’s water-based and sets matte. Oil-based tints slide off under heat. Dab, don’t swipe, and set immediately with powder.
How do I stop blush from looking harsh in photos?
Avoid red-based pinks under flash. Opt for muted mauves or dusty roses. Blend beyond where you think necessary—edges vanish on camera.
Should I reapply blush during a long event?
Only if you’ve blotted heavily. Better: carry a cream stick for touch-ups on bare skin patches, not over existing layers. Less is more.